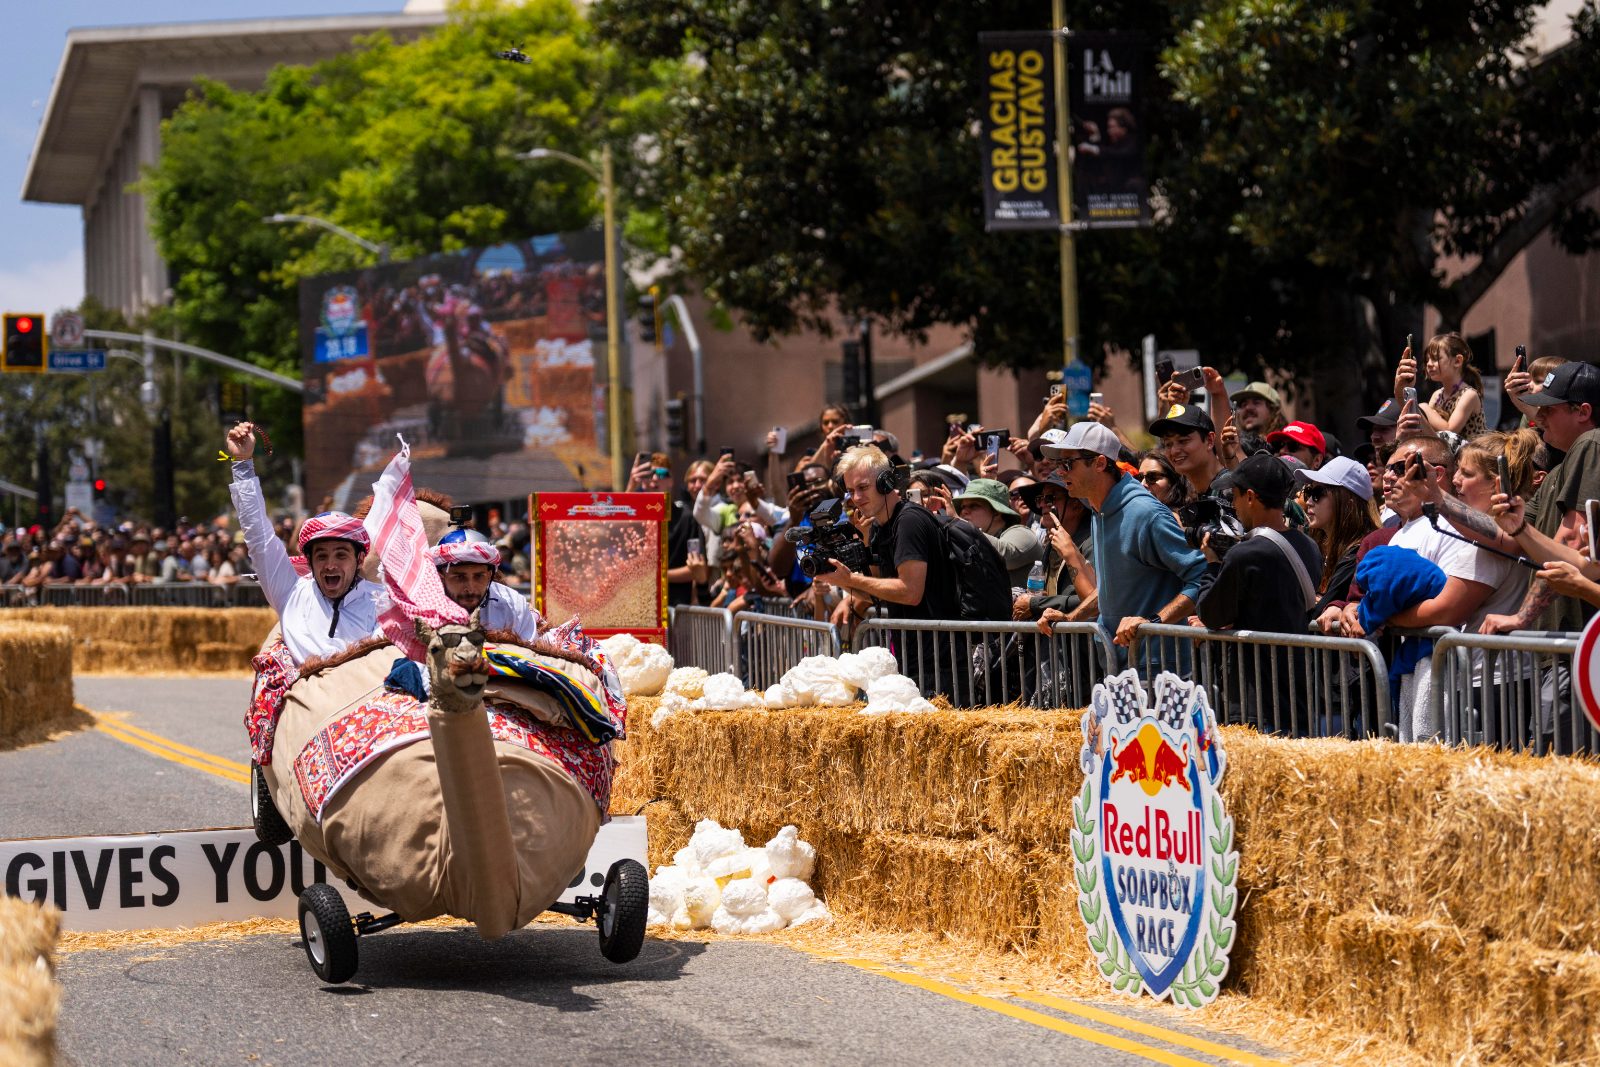
Red Bull Soapbox LA 2026
engineering a homemade soapbox racer down a hill for glory, as team captain of the Arabian Knights
→ team captain, Arabian Knights 🐫
→ concept design, mechanical build, sourcing, weight reduction 🛠️
→ finished 8th of 40 teams 🏁
role
I was team captain of the Arabian Knights: I put the team together, led the concept design and rules review, sourced and rebuilt the go-kart chassis, ran weight reduction, and coordinated the build across the whole team through race day.
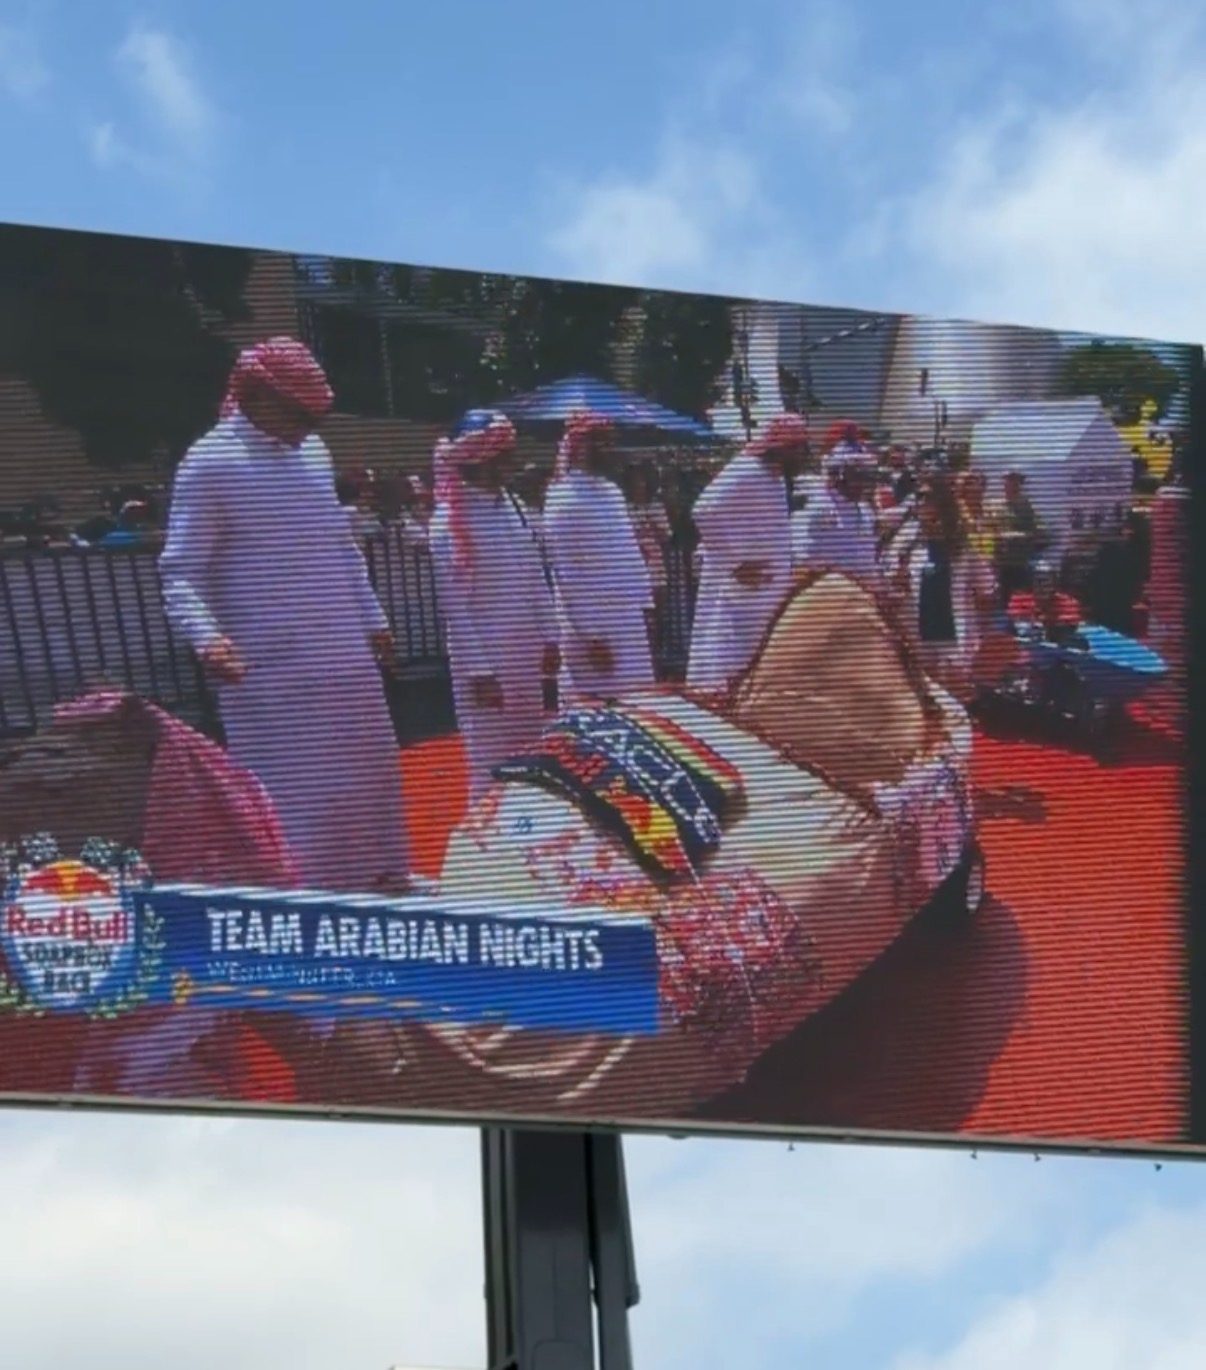
outcome
we finished 8th out of 40 teams. I’d do it again in a heartbeat.
background
When the application for the LA Red Bull Soapbox Race opened, I called four of my closest friends and put together a team, with myself as captain. We scoped out the rules early to make sure our concept would be compliant from the start.
concept & application
I’m not the most artistic person, so my first instinct was to model the car as an assembly in SolidWorks, the tool I know best. But designing an animal shape that way turned into overkill fast, and I found myself overthinking the geometry instead of making progress. So I switched tools: I picked up GearBlocks, a karting design game, and used it to rough out a simple conceptual shape. That got us to a design fast enough to write and submit the application.
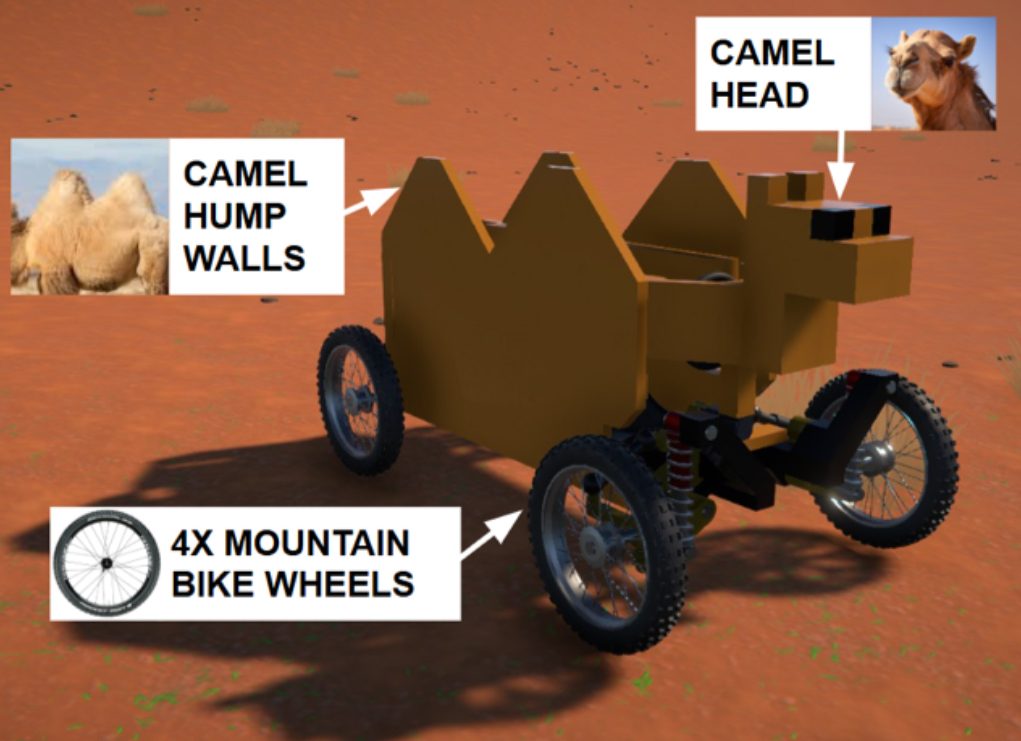
Red Bull got back to us with an acceptance, and the real work started. I watched hours of old Soapbox race footage to understand what separated winning builds from losing ones. I know how to design for CNC, sheet metal, and welding, but I didn’t have shop access, the tools, or the budget to fabricate from scratch. So I leaned on a simpler principle: do what you can, where you are, with what you have. (also known as Roosevelt’s law of task planning)
the constraints
the rules were strict: gravity powered only, functioning brakes, functioning steering, a safe-looking interior, a 5 ft x 6 ft x 10 ft envelope, and a 175 lb weight limit. That ruled out anything like gutting an ATV, since the frame alone would have blown past the weight cap. Instead, I focused on finding a decrepit children’s go-kart to strip down and rebuild.
the build
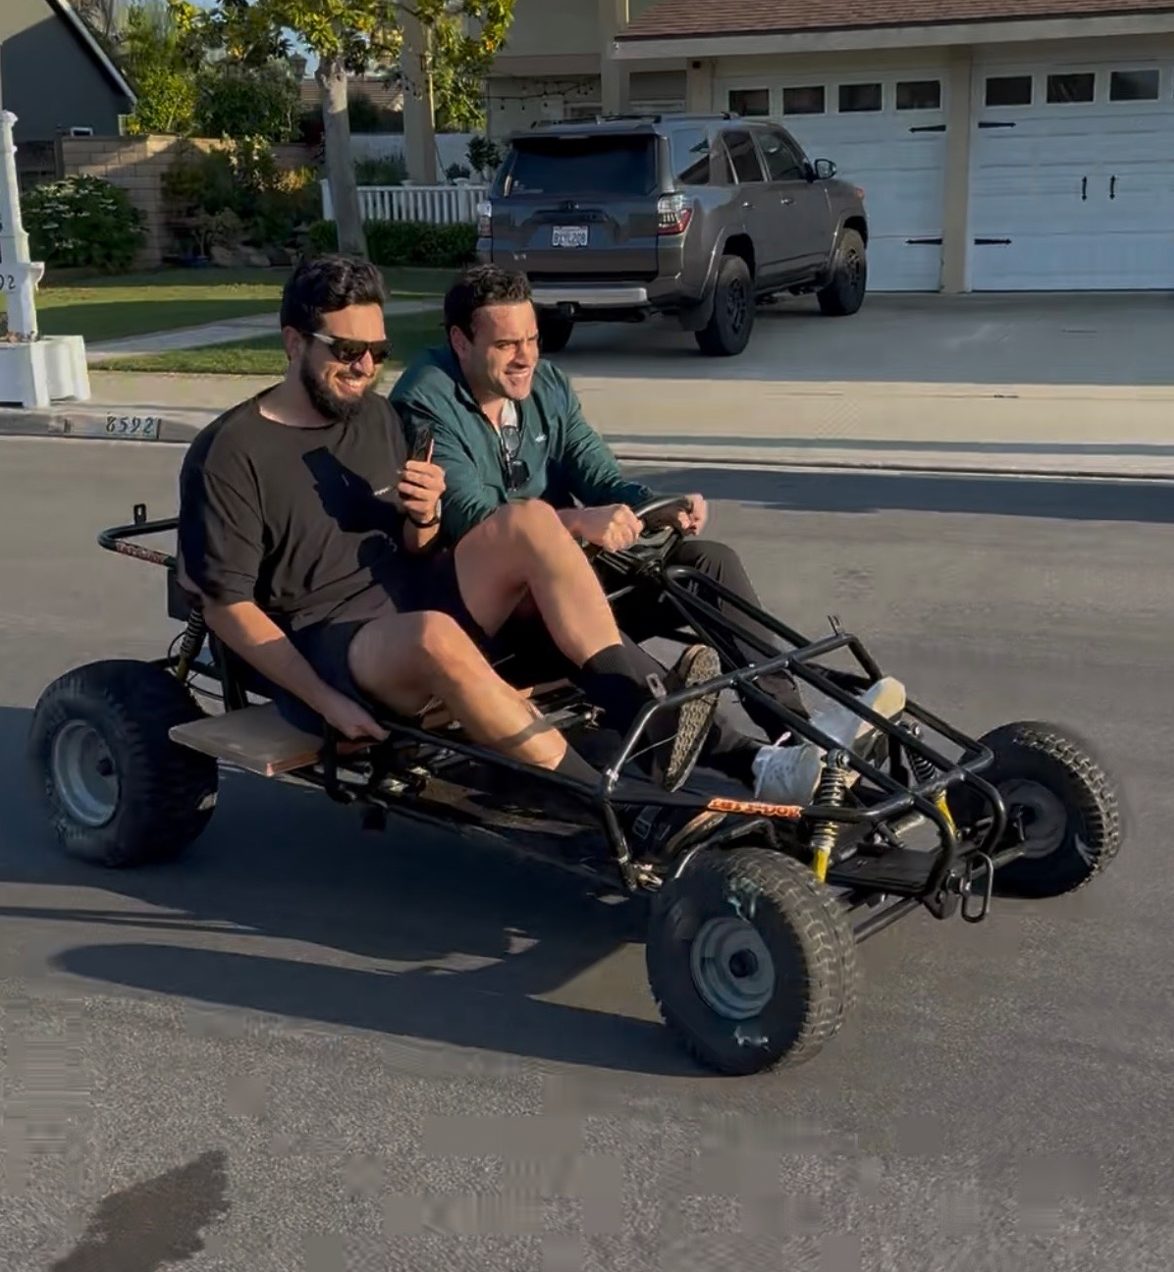
I found a used Yerf-Dawg go-kart on OfferUp, got the team to pitch in, and picked it up, only to find it was too tall to fit in my friend’s minivan. So the teardown started before we even got it home; we cut the roll cage off on the spot to load it.
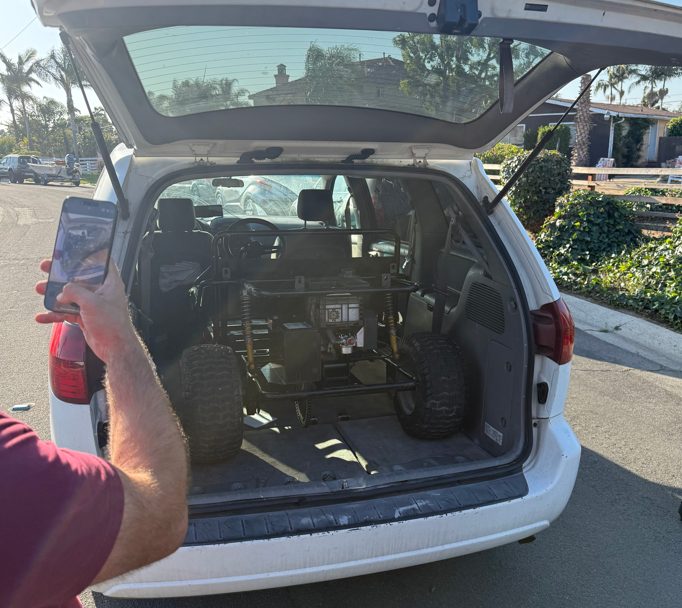
Once I test drove it, I confirmed the engine, brakes, and steering all still worked, but every wheel was shot and couldn’t hold air. Harbor Freight solved the front wheels easily. The rear was harder. Removing the powertrain (engine and chain) came off clean and immediately made the kart feel lighter, but the rear axle had rusted solid to both the wheels and the bearings, and the brake rotor was fused to that same rusted axle.
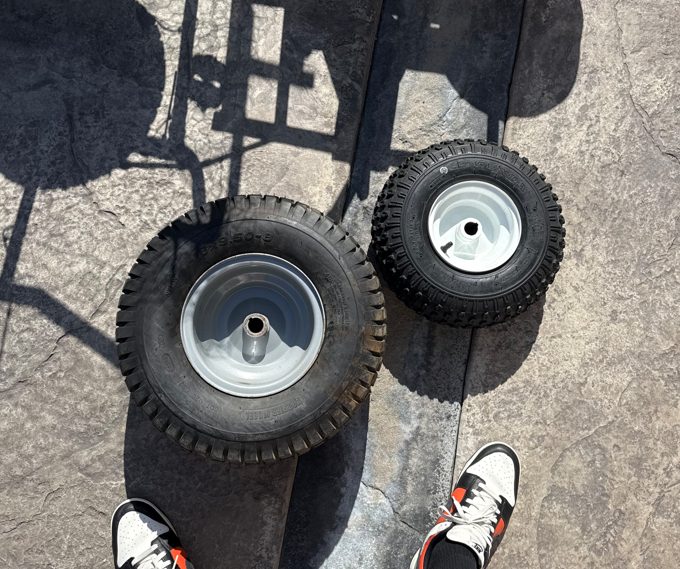
That sent me sourcing parts online: a new axle, new brake rotor, and new wheels and tires, pulled together from tractor supply and go-kart parts sites. Getting the old rear axle off took a lot of angle grinding and cutting. Once the new wheel and tire assemblies were on, though, I noticed they were heavy, 20 lbs per side.
We weighed the rolling chassis and came in at 180 lbs, over the limit, and before adding any decoration. That sent me back online hunting for lighter rear wheels, since the original set was massively overbuilt for a car that isn’t putting power through the rear axle at all; it’s gravity powered. I found a replacement assembly at 8 lbs per side, a 24 lb savings across both sides.
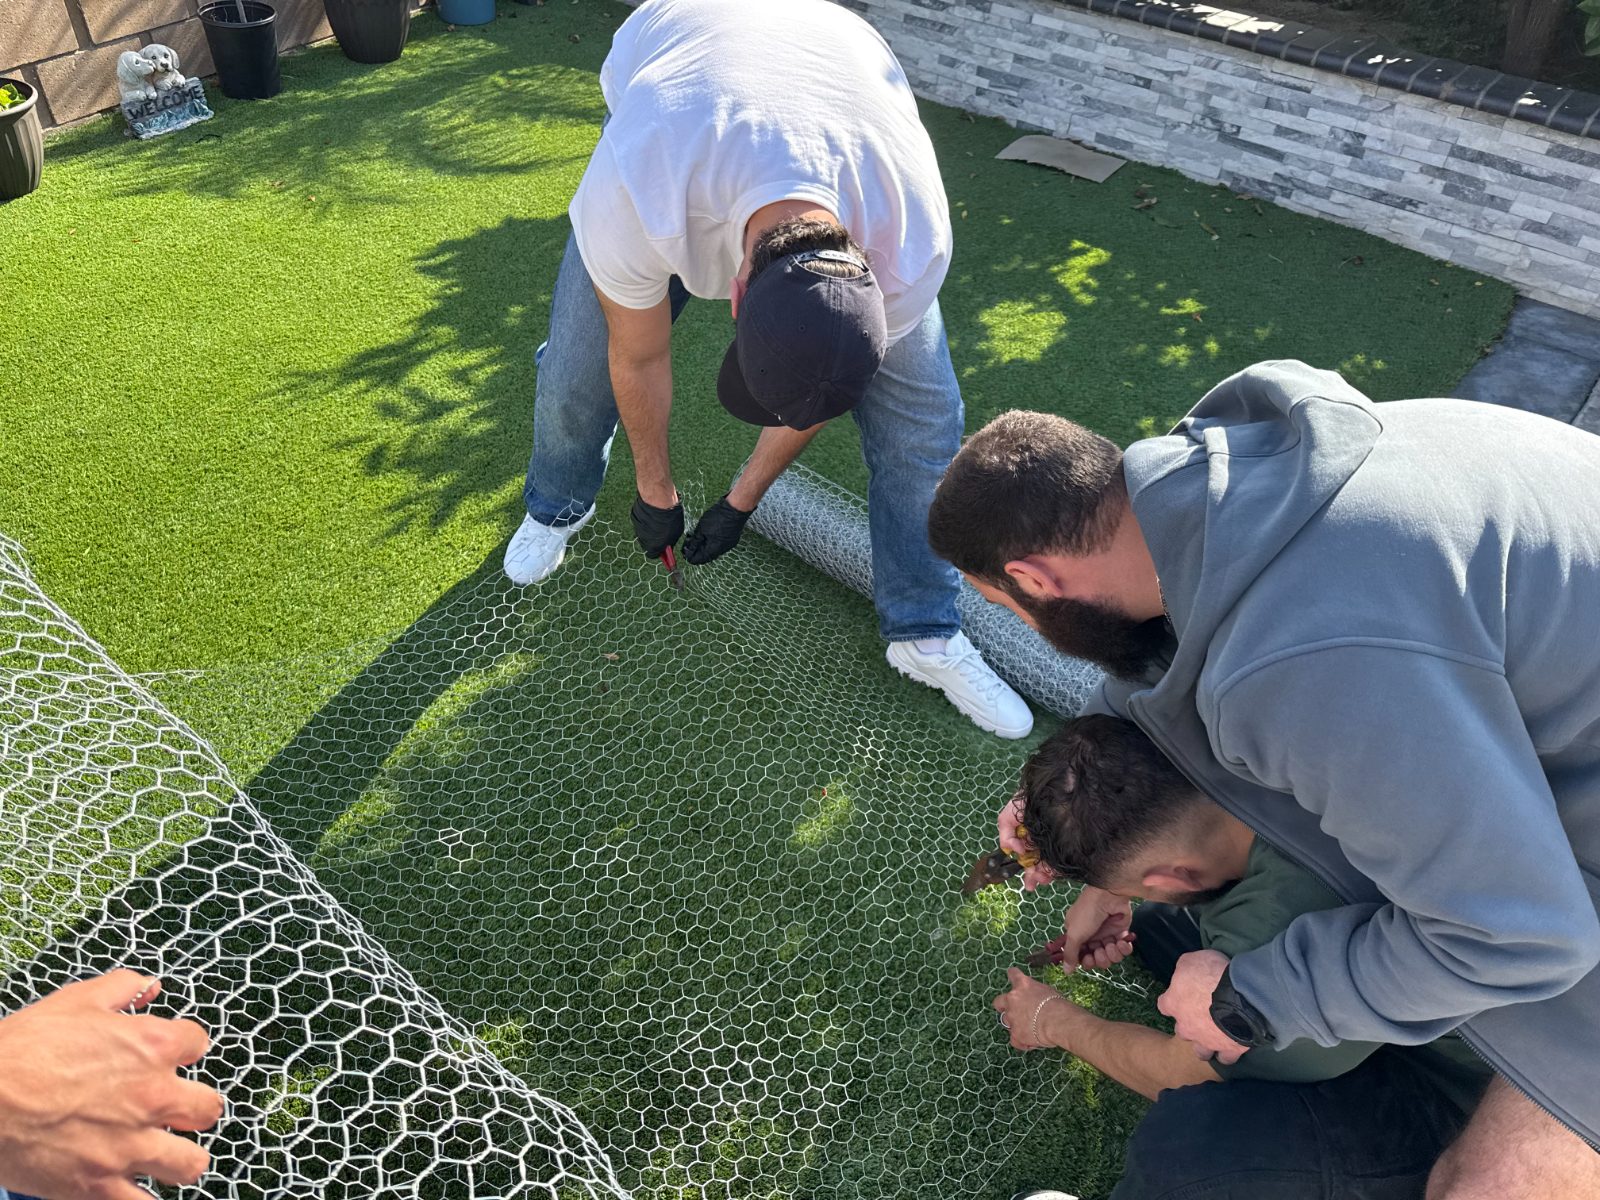
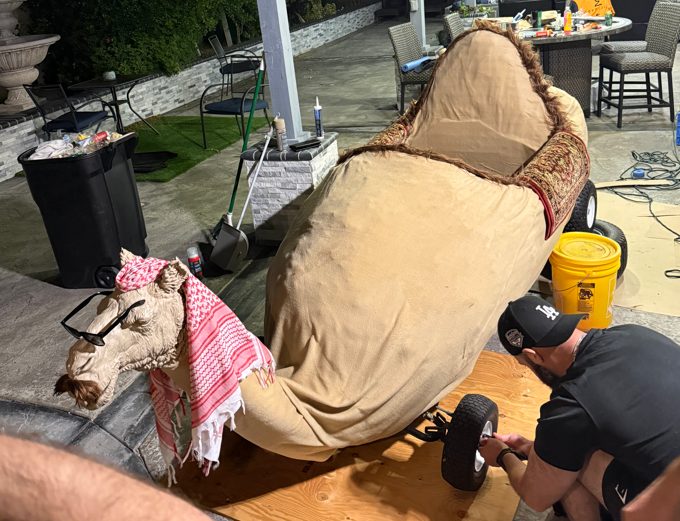
With the mechanical build sorted, I turned to the camel. I searched Michaels and Walmart until I found fabric in a color literally labeled "camel." The frame itself was built from chicken coop wire and PVC pipe. To get a smooth, sculptable surface, I researched how chicken-wire sculpture artists typically finish their work and landed on expanding foam. That meant 40 cans of expanding foam from Home Depot, plus gloves, goggles, and masks for the whole team.
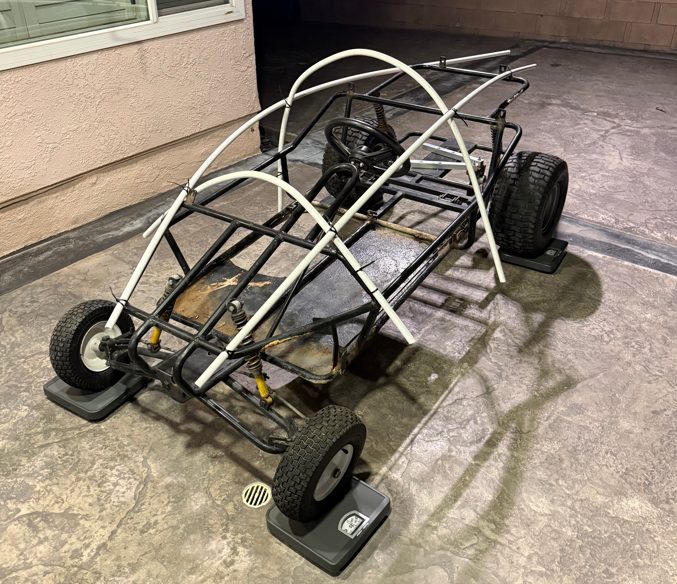
Once the foam cured, we carved it smooth with knives and glued the fabric over it, then added final details: a 3D printed head and sunglasses.
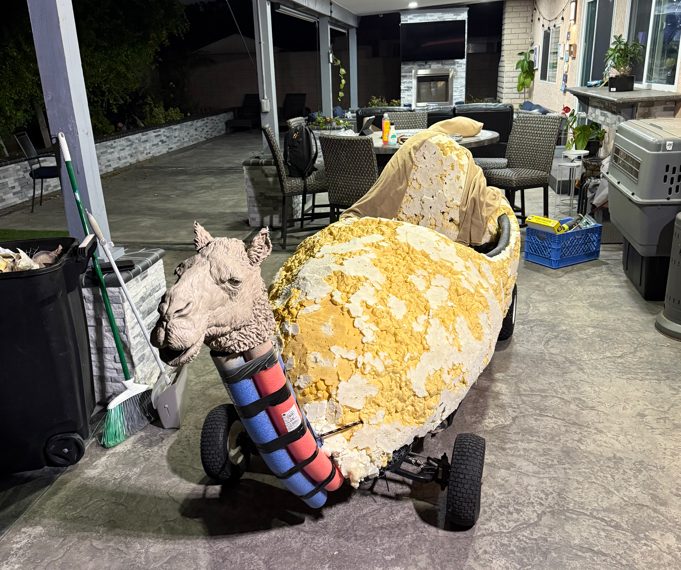
We weighed the finished car again and were about 10 lbs over. At that point I used actual mechanical engineering judgment: tracing load paths through the frame to figure out which steel members were structural during jumps and impacts, and which were dead weight. We cut 10 lbs of non-load-bearing material and made weight.
race day
I rented a U-Haul from Tustin to get the car to Downtown LA; it barely fit.
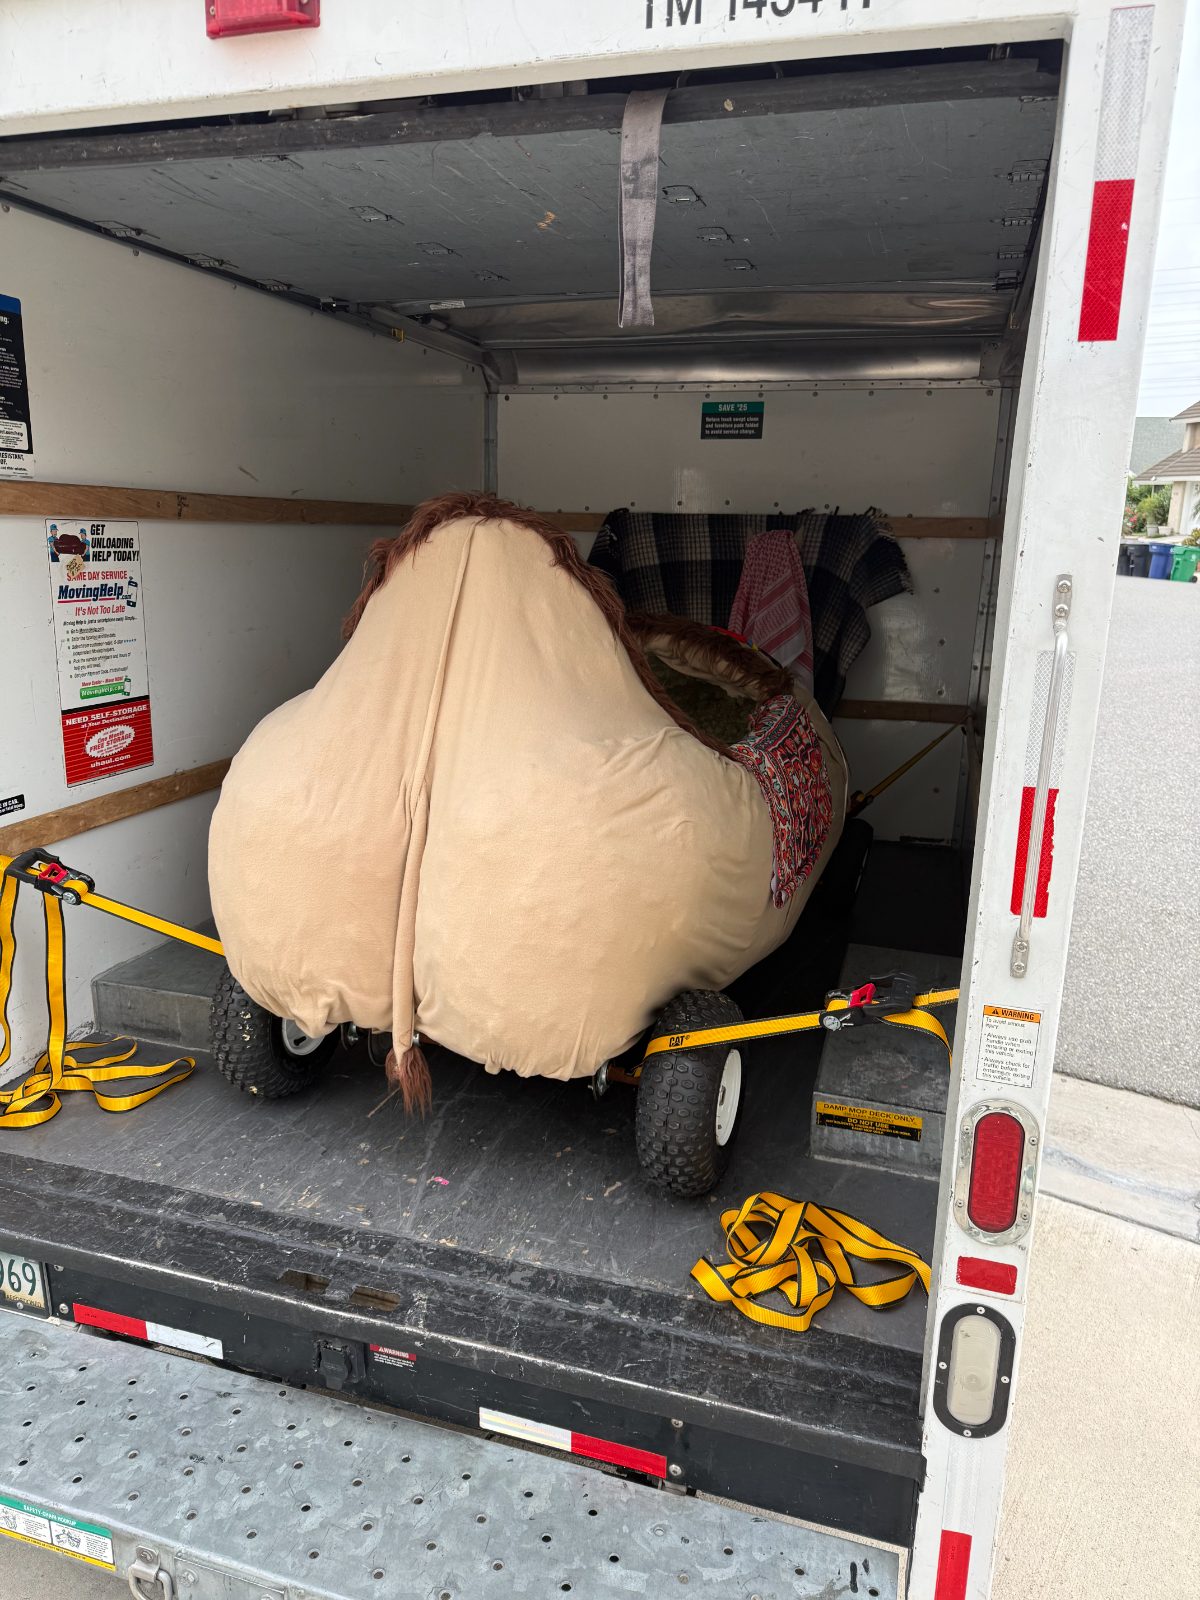
As for who would drive, we drew straws, and I lost every time. I wanted that outcome, honestly, since I’d rather everyone get a shot at driving to keep the whole team motivated through the build. When our intended driver had a last-minute emergency, we flipped a coin among the remaining volunteers, and I lost three coin flips in a row too. Took it as a sign I wasn’t meant to be behind the wheel that day.
We finished 8th out of 40 teams. I’d do it again in a heartbeat.